The cherry and hazelnut brownies are one of our family favourites. We have made them at least four times. They are rich in chocolate and they are based on Jamie Oliver’s great recipe ‘Bloomin’ Brilliant Brownies‘ – you can find Jamie’s recipe online HERE.
The main ingredients are your usual brownie staples: 200g of chocolate, 250g of unsalted butter, 80g of cocoa powder, 1 tp of baking powder, 360g of caster sugar and 65g of plain flour.
Our important changes to his recipe is we use 100g of dark chocolate and 100g of milk chocolate to balance out the richness. We also added 50g of hazelnuts for a bit of crunch. Also, we added chopped dried cherries – 75g. Finally, we added cherry flavouring – just 7 drops – because we didn’t want it to be over-intensely cherry.


Brownie making time
Take a look at our cherry flavouring – from the ‘Foodie Flavours‘ range from Lakeland. This was £3.99. I know it sounds like a lot of money, but you don’t need to use much and it lasts for a long time, so you can put it in a lot of things you can make. I am going to try it in some butter cream next.
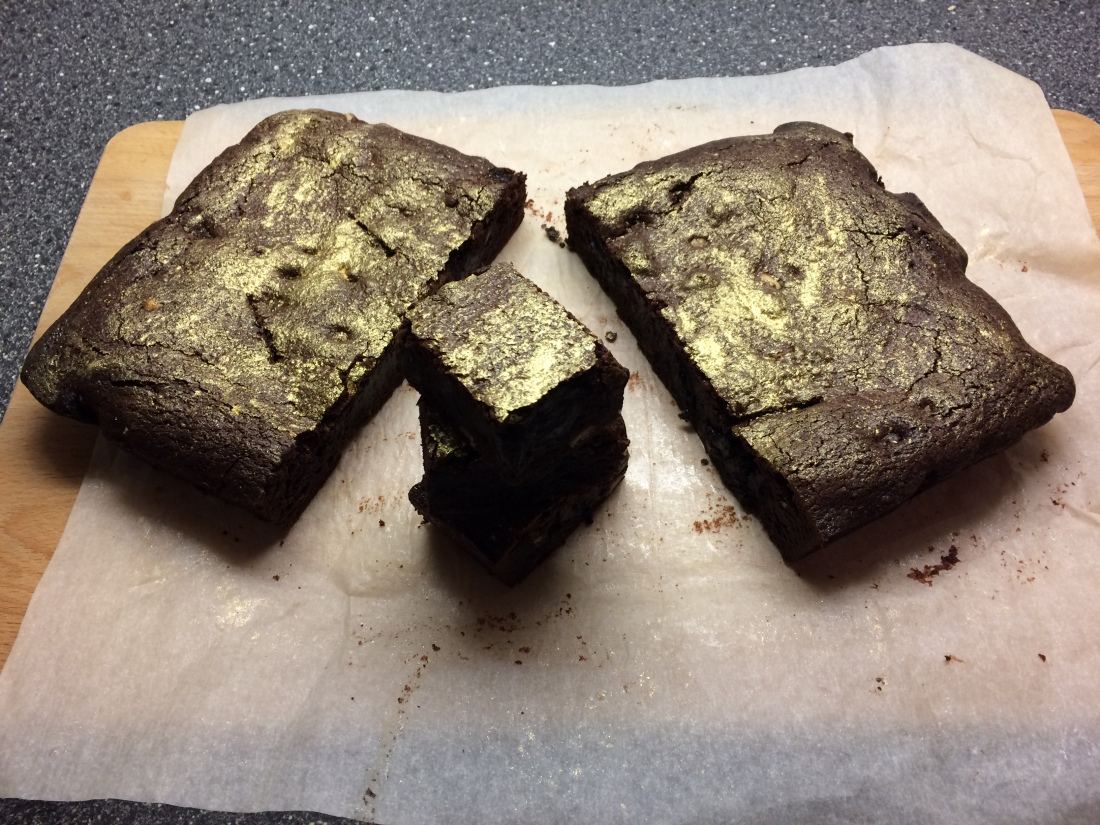
We baked it for a little bit less than the recipe said (23 minutes and it said 25), so that it had a gooey middle – like every brownie should!


The finished product
We added an edible gold dusting over the top (smeared over is the best way to do it). This looks good and makes it stand out. Someone special is going to get some of it as a surprise, so the gold is for a special occasion!


